One of the most important elements of photography for you to know as you learn how to use your camera is what is called Depth-of-Field (dof). This is the area within your photograph, from front to back, that is in reasonably sharp focus. The automatic point and shoot cameras have settings on them that do this for you. These settings control other aspects of exposure too, all you need to do is select the setting you want and shoot. The camera figures out the best exposure for you. For instance the the Macro setting will allow you to take close up images with a shallow depth of field, while the landscape setting will have a deep depth of field. 
But what if you want to have more control over dof? You do this by adjusting the aperture of your lens. Aperture refers to the size of the opening that will let light through to your film or sensor when the shutter is activated. The bigger the opening, the more light comes through. The smaller the opening the less light. Aperture is actually a ratio calculation that is expressed as "f/stop." You have all heard people say things like "f/11" or "f/22" or "f/8" and so on. Don't worry about where these numbers come from. That's for mathemeticions to worry about. We're photographers not math teachers. All you need to know about this is two things. They are; the smaller the f/stop value, the larger the opening in lens that will allow light to pass, resulting in faster shutter speeds for proper exposure. The larger the f/stop value, the smaller the opening, AND (here's the most important part) the smaller the f/stop value, the shallower your dof. The bigger the f/stop value, the deeper your dof. People get really confused with this stuff if they think to much about it. Don't. The last part is what is most important to you right now, that is: the bigger the number the deeper the dof.
Not all cameras let you have control over your aperture settings but a lot of them do. The setting on your camera's mode dial is usually designated with an A or an Av. Look for this in your camera's user manual and see what it says. I use an open apertue in low light settings and when I want a shallow depth of field such as when I am shooting pictures of flowers. I can let the background go blurry creating a framing effect. When shooting a landscape scene I use a more closed aperture setting, giving me a deep dof, and a longer shutter speed. Note that I keep mentioning how aperture setting effects my shutter speed. This is important as they work together to help you get the proper exposure. I'll talk more about this in a later post.
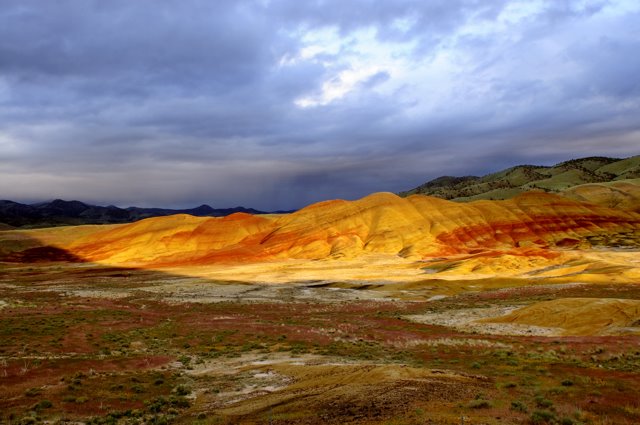
A couple of other points about Depth of field is that it is relative to distance. In other words, at any given aperture, depth of field will be larger (deeper) for distant subjects such as landscapes, than for close up subjects like flowers or insects. And finally, at any aperture, there is twice the depth of field behind the point of focus as in front. This is important to know when you are concerned about your point of focus. More on this later too. So, for now, find out how to control your depth of field on your camera and go take pictures in each of the various settings available. Check out my two photos and note that the flower picture was shot using a wide open aperture (small number) and the sunset was created using a closed aperture (big number).
No comments:
Post a Comment