One of the most important aspects of how to use your camera includes a basic understanding of whate balance. Almost, if not virtually all digital cameras nowadays have a menu option called "White Balance." Even your digital phone has a setting for white balance if it has a camera in it. So what do we use "white balance for?" Most cameras and phones will have this setting set to Auto. This is okay if you like to let your camera do all the thinking for you. Your camera will read the available light and choose a setting that it thinks will render the color of your images as it sees them. But what if you want the picture to appear differently? How do you make a picture created on a cold and dreary day, look warmer if that is what you want to depict? You can do this by changing the white balance settings.
Here is my suggestion for learning to use this feature of your camera. First read what your camera's manual says about white balance. Most of the manuals will tell you that the camera sees light differently than what the human eye sends to the brain. Your brain automatically adjusts light to be "white" light. It filters out all the different colors and makes it appear white. A camera doesn't have that ability. It reads the light as it is, if it's blue, you image will appear blue,if its red, it will appear red, and so on. The white balance settings in your camera help you gain control over this. Some cameras even let you adjust light by what is called Light Temperature. We won't discuss that here.
To learn to use this feature and how it can help you get the picture you see, or the one that you want to create, change the settings and shoot some pictures in each one. Note the differences and think about new ways to use this feature to create interesting photos.
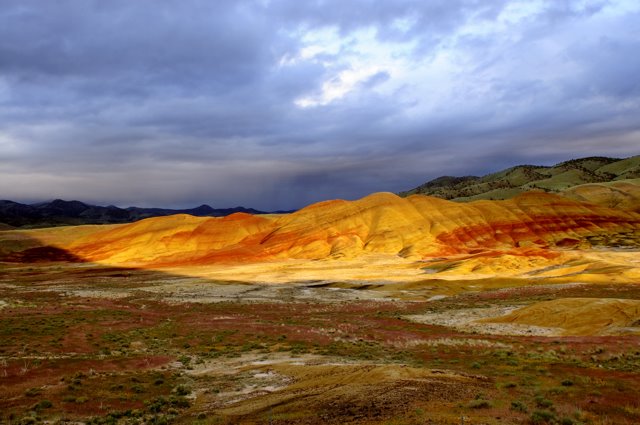
I do most of my photography out of doors. The three settings I use the most are daylight, cloudy, and shade. The daylight setting is for clear sunny days, and tends to add a bluish tint to my pictures, making them appear more natural as my eye might see them. The cloudy setting adds a little more red to the image to overcome the natural blue tint from the clouds. And the shade setting adds even more red because shady areas tend to be even more blue than the light on cloudy days.
So to continue to learn how to use your camera, read about the white balance settings in your camera manual, then grab your camera, find the white balance settings in the menu and take a few pictures at each setting. Go outside as see how the changes effect your pictures of a flower, and landscape, and a person or pet. Go inside and shoot in the light provided by a light bulb and note the changes here too. You will have a lot of fun with this, and just maybe you will also create some really neat photographs.
No comments:
Post a Comment